Thursday, 11 February 2016

researching brands: Nars


Nars is a cosmetics and skin care company started by French Make up artist and Photographer François Nars in 1994. 

Nars best sellers screenshots from their website. These are their main cult beauty favourites and which products they sell most of. 


The 5P's of Nars Cosmetics


 The products tend to be catered for all ages and ethnicities as they have a wide range of colours and tones in their range. The packaging is very plain and has a sophisticated matte black feel with white writing on. The presentation for Nars tends to be again very sophisticated with the matte black on their counters but their brand as whole is targeted for everyone. The price point for the brand is rather resonable but is still counted as a luxury brand, the prices start at about £15 and go up to just under £100 for the skincare side of things. Promotion for the brand is something that comes from their campaigns and self promotion as the make-up sponsors at fashion week. As they don't have fashion house behind them they have a much smaller audience compared to the likes of Chanel and YSL. 


I really love the Nars advertisements for the brand. I think they are unique and quirky but very modern. They really focus on the make-up which is something I adore when it comes to any brand. They use creative looks not just some stereotypical of the everyday person. If this brand was under a fashion house I would absolutely pick it but as I really want to throw myself further into the fashion element of this unit I have decided that I will most likely not use Nars as my chosen brand. 

Location vs Studio

Why I chose to shoot in the studio rather then on location...

Now when thinking about my shoots I had imagined from day 1 of this unit that I would shoot in the studio, When I picture Yves Saint Laurent I picture the photos being taken in the studio and not on location. Through my research I have come to break this down for my brand. The advertisements seem to be always taken in a studio format whilst the editorials are a mix, but personally I do seem to favour the studio shoots for some reason.
After this research and thinking about what I could realistically achieve for myself I knew that I was most likely going to create all of my images in a studio environment even my catwalk. 

I have to put into a perspective that I didn't want to use anywhere that obvious to peoples eye and perhaps recognisable. I wanted them to look as professional as possible and as I have no knowledge of creating photos on location I didn't want to waste vital time reshooting again. Unfortunately I couldn't find anyone to collaborate with but I knew I wanted to attempt all of the tasks that came wit this project by myself. 


Sunday, 7 February 2016

researching brands:Yves Saint Laurent


Yves Saint Laurent Spring/Summer 2015
Yves Saint Laurent also abbreviated to YSL was founded by Yves Saint Laurent and his partner Pierre Berge in Paris, France in 1961. The brand is best know for creating women's tuxedos, which they have featured in many campaigns. Known as one of the best fashion houses of this time, they are creators of garments, shoes and accessories as well as their well know prestigious beauty and fragrance; Yves Saint Laurent Beaute. Major beauty and cosmetics conglomerate LOreal Paris, own YSL Beaute. In the 60's and 70's the brand popularized the Beatnik fashion trend worn by movie stars such as Audrey Hepburn. In this time period royals started to wear their creations so therefore the brand became widely known and popular with the elite and socialites. In the 80's and 90's the brand came up with men's and women's fragrances and eventually came up with their own cosmetics line to follow up for the consumers. When it came to the 1990's the brand started to descend and fall in stock shares, the brand decided to take on designers GUCCI and TOM FORD to help and try to bring it back but in the end failed. In 2012 the brand had reinvented itself and decided to bring back the couture line. 

http://471665674241657755.weebly.com/uploads/2/6/8/2/26827961/9340072_orig.jpg
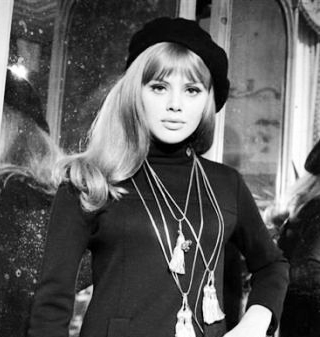
BEATNIK FASHION
The beauty brand created by YSL is just as successful as the fashion house, it's most well know beauty product is the Touche eclat, most people believe it to be a pen low coverage concealer when in fact it is actually a highlighter to help brighten the consumers skin. They are known mainly in the fragrance world for their perfume 'Opium', which they have recently released a updated version of the perfume for a younger consumer to exceed their target audience called 'Black Opium'. The brands main colour scheme seems to be black and gold which features well with their statement fashion pieces of tuxedos. 

YSL Beaute best sellers list according to their website (Feb 2016)


These are some screen grabs of their website adverts selling their new fragrances and foundations. These also feature well know model Cara Delevinge and up and Edie Campbell. I can use these images as inspiration if I chose YSL and for my editorial and advertisement images.

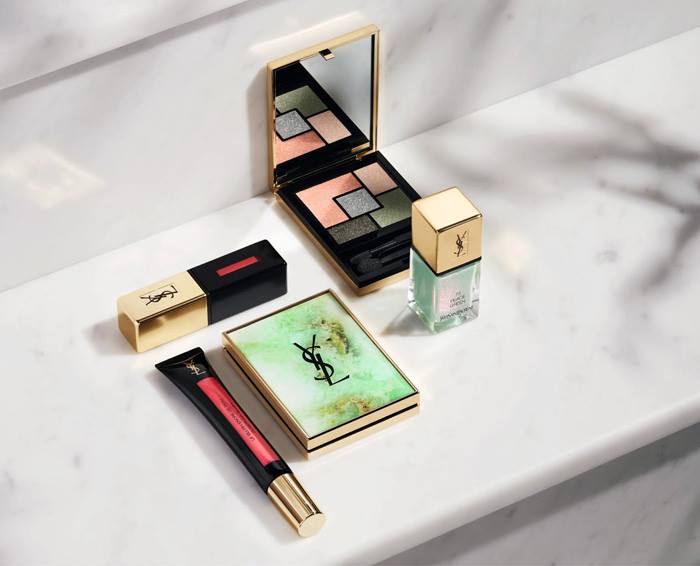
Yves Saint Laurent's Spring/Summer 2016 campaign is called Boho Stones and features mint green tones as well as baby pink tones, both very spring type of colours. The collection features eye shadows, colourful mascaras, metallics for the eyes and peachy tones for the lips. Here is a look book for the campaign. 


Friday, 5 February 2016

technical session: fashion makeup/dewy and matte skin

For this session we had Fenella who showed us some referencing images from magazines of fashion make ups. I was very excited to do these looks as this is a field I wish to go into when I graduate.

Using images such as these as references I came up with my two looks on my own model.
http://www.look.co.uk/sites/default/files/imagecache/scaled_620px_wide/dior_makeup_look-paris_couture_fashion_week_aw2015-peach_eyeshadow-look.co_.uk_.jpg
https://scstylecaster.files.wordpress.com/2015/04/dewy-skin-tricks1.jpg
Product List for dewy look:
  • Garnier intense moisturiser
  • Smashbox primer oil
  • Mac strobe cream
  • Kryolan ultra foundation
  • Revlon concealer 
  • Ben Nye Banana powder
  • Mary Louminzer by the balm highlighter

This is the finished dewy look on my model. I began by moisturising the skin applying it quite liberally. I then applied a decent amount of makes strobe cream to the face as I wanted the skin to glow, I worked this in so the pearl finish came out better. For even more moisture I added an oil primer from smashbox. I then applied a small amount of grease based foundation to my models skin as her skin was already very beautiful and clear, I applied this with a dampened beauty sponge to carry on giving the skin as much moisture as possible. I then applied the smallest amount of banana powder to my models skin to just set the concealer under the eyes and the eyelids. I then dampened the stiples of the stippling brush and using a light hand I applied a very pigmented high light to my models cheekbones, bridge and tip of the nose, under and above the brow a some on the forehead and chin. I think I captured the dewy look the best out of the two looks. I'm really happy with how this came out. 

Product List for matte skin:
  • Garnier moisturiser
  • Kryolan ultra foundation 
  • Maybelline matte foundation 
  • Revlon Concealer 
  • Ben Nye Banana Powder
  • Illamasqua contour powder

For this look I made sure I prepped the skin pretty much the same way as before with cleansing and moisturising but avoided using anything with a sheen as this was to create a matte finish. I then started to mix ultra foundation from kryolan and maybelline foundations together to create the perfect finish that I wanted. I wanted to create a matte look but not using some much powder that it made her face one dimension and almost grey. I then used kryolan concealer and Revlon concealer under the eyes and under the nose to hide any redness and blemishes. I then used a light dusting of Ben Nye's banana powder over the entire face to create a matte base. Once I had done this I used a contour powder just to bring the dimension back into her face, under the cheek bones and on the forehead as the skin was lacking the natural light catching the skin unlike the dewy look. 

hair technical session: blow drying

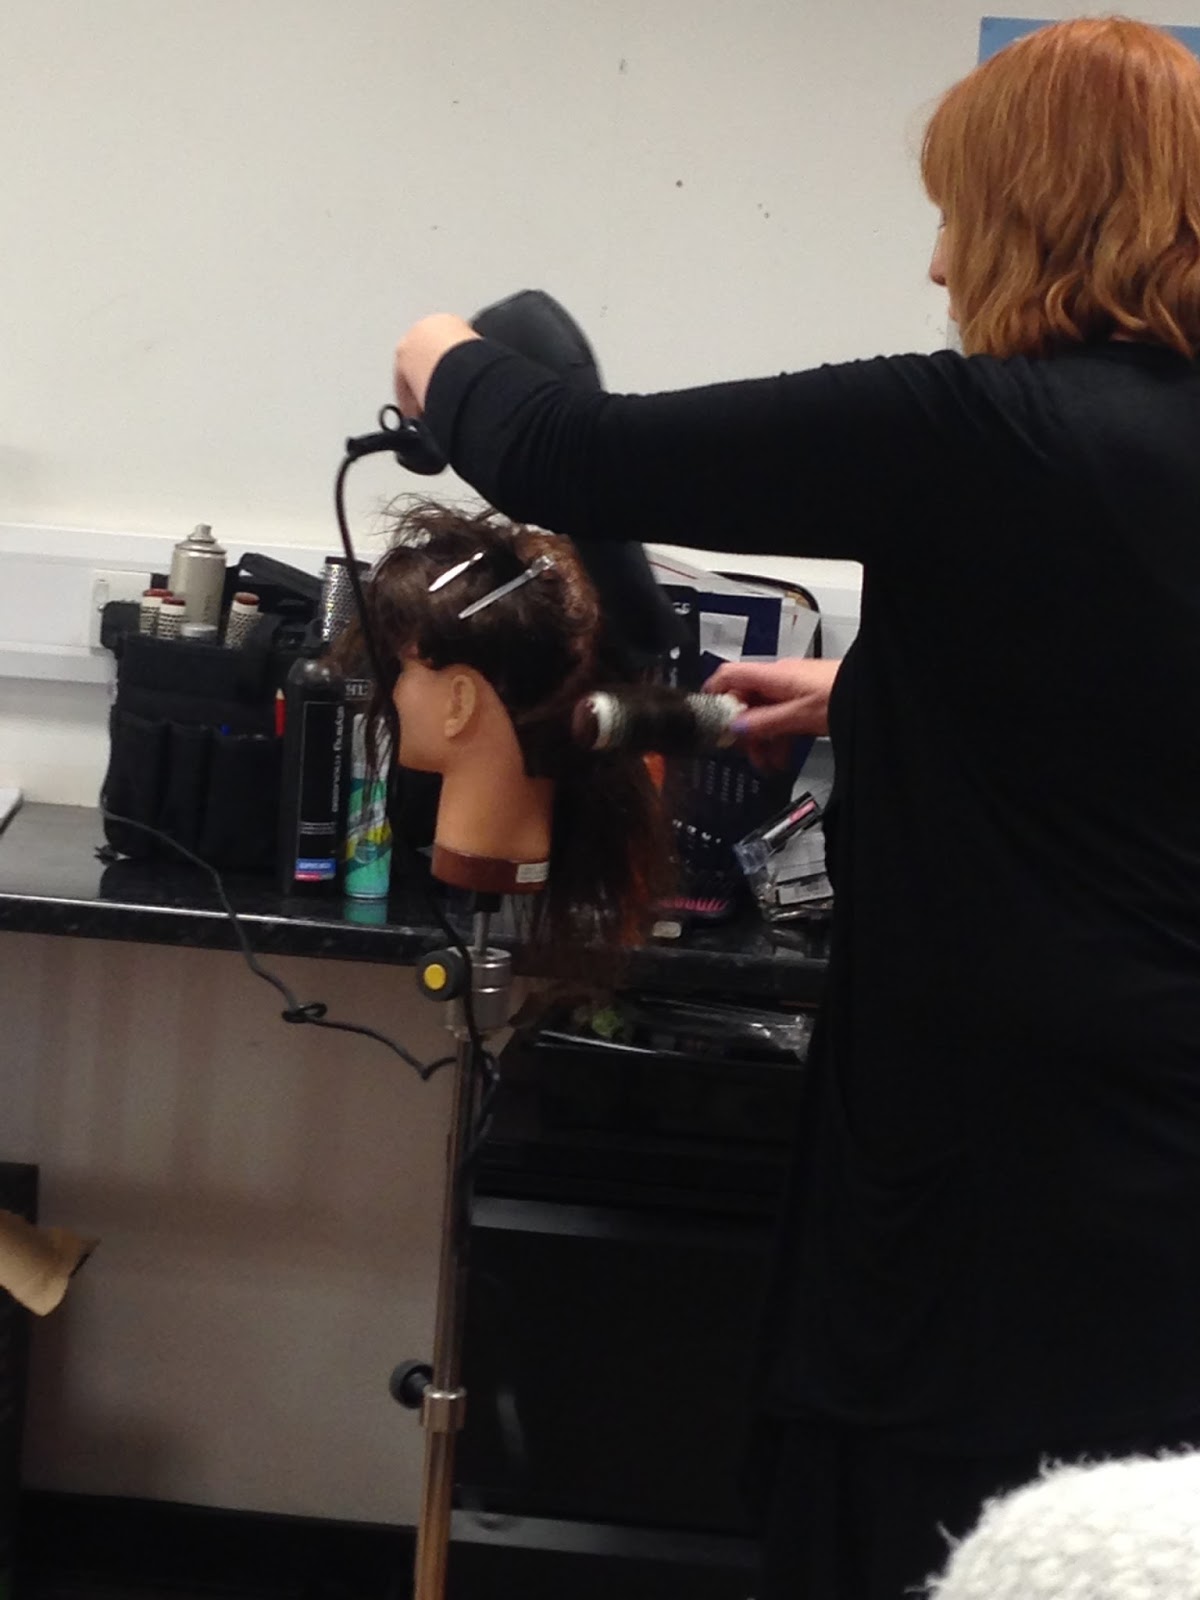
For this technical lesson, Lottie showed us how to blow dry hair professionally either in a curly or straight style. She included the different brushes and products we would need to use to create the perfect salon look as well as the techniques. She explained this is the hardest thing for any stylist and if we could master this we could master pretty much anything as a hair stylist.

We began with a practical from Lottie showing us how to create both styles.


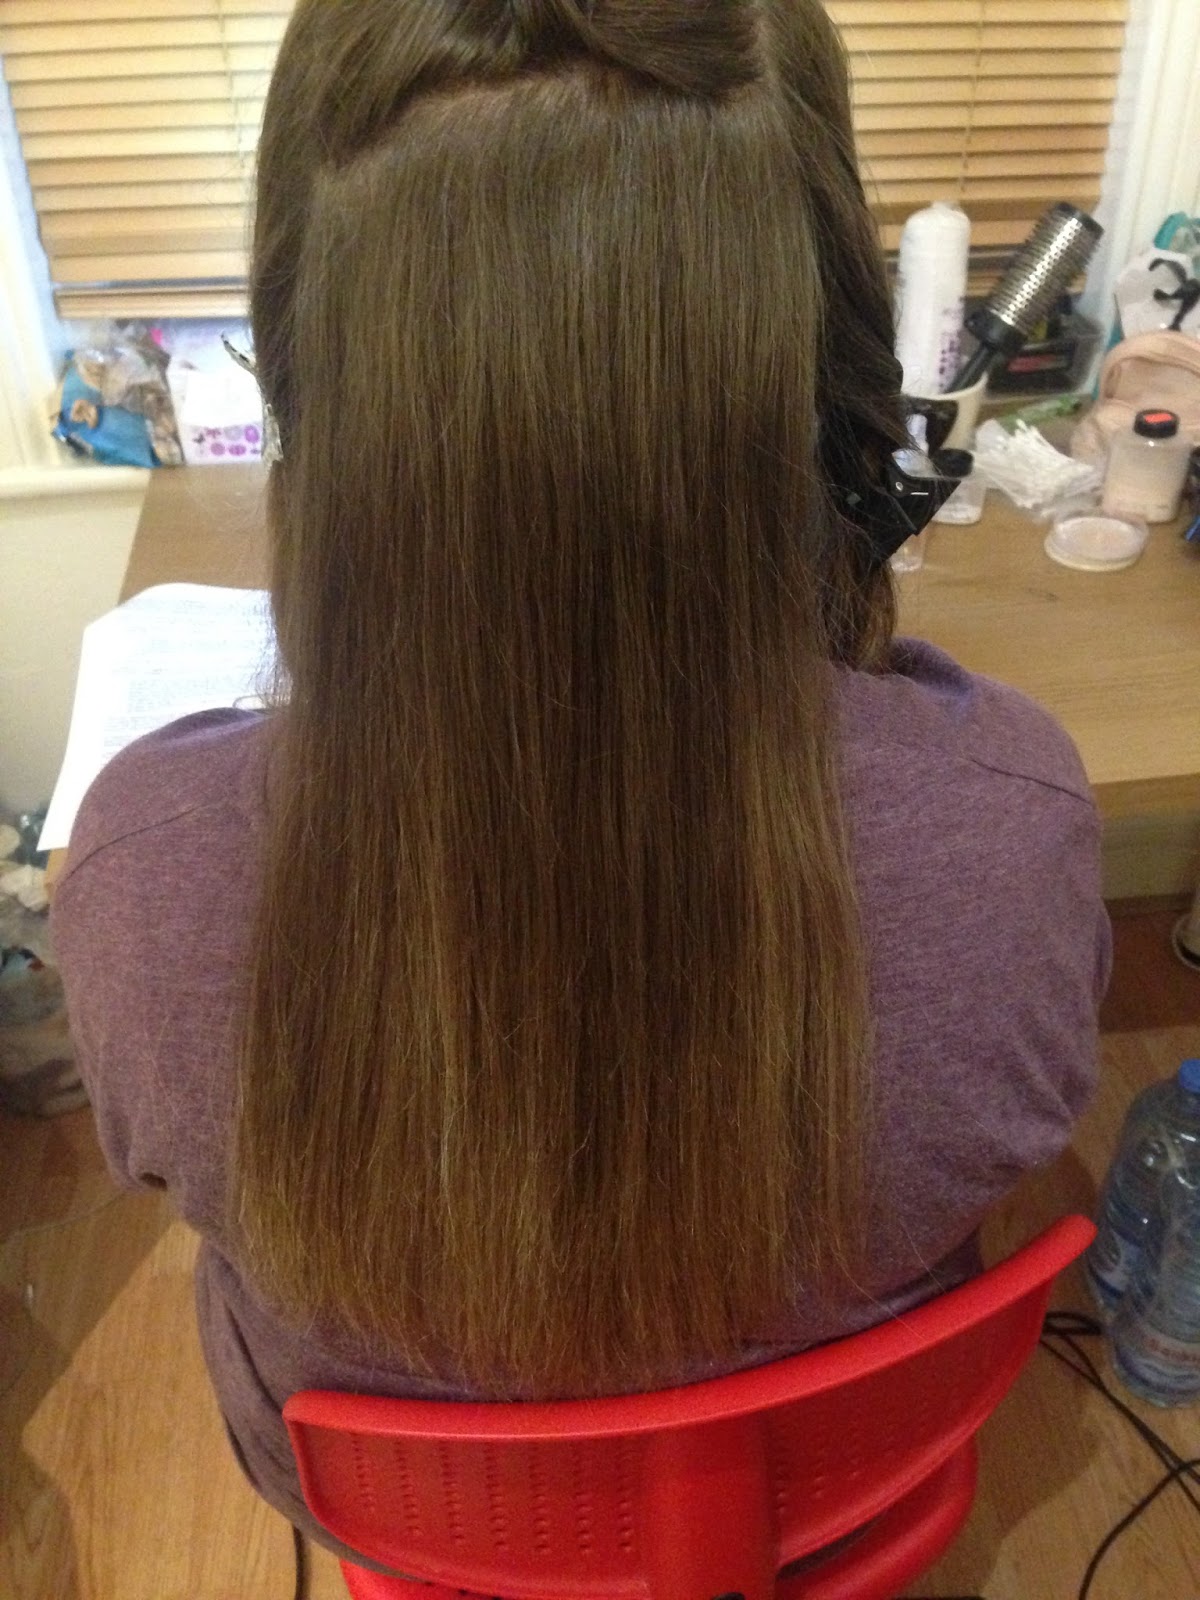
After the practical it was time to get started on either our Kate heads or our partners hair. I chose to work with a partner so I could practice on a different kind of hair and get the jist of a real client. My partner firstly began but when it came to swapping over we had run out of lesson time, we arranged another day to create a straight blow dried look. 

These are some of the products we used to create the look in class.

Product List: 
  • Shampoo
  • Conditioner
  • Hairdryer
  • Paddle Brush
  • Denman Brush
  • Wide toothed comb
  • Pin tail comb
  • Heat defence spray 
  • Sea Salt spray
  • Mousse 


I began by sectioning the hair off into 3 sections, either side of the head and then a back section. I began with the back middle section and sectioned this even further. Using a Denman brush I began by turning my hair-dryer on to a low heat and started at the root of the hair I blew some of the heat on the top and underneath of the hair making sure the root was firstly dry then keeping my thumb on the brush I slowly moved the brush downwards at a gradual pace and a good tension. I did this a couple of times until I felt the hair was dry and a smooth as possible. I basically repeated these steps all the way down my models hair and then when I got to the top of the head and the last section I pulled the hair up to create some more volume. I then moved onto the section of the hair which did not have my models fringe in and repeated the same steps till the hair was smooth and straight. I then again repeated for the last section but when I approached the fringe I sectioned this off and blow dried it upwards and backwards towards the ear.